How to Lay Sod: Step-by-Step Guide
August 1, 2022
Patience is a virtue, and if you’re fed up with watching grass grow from seed, it might be time to speed up the process and learn how to lay sod. Fortunately, sod installation is fast, easy, and straightforward. With a bit of planning and preparation, you can be on your way to that lush, green lawn in no time.
Best Time to Lay Sod
Before sodding your lawn, it’s imperative to consider the best time of year to undertake this task. Depending on your climate, you can install a new lawn at any time of the year. But some seasons and months are better than others.
Early to mid-fall can be the best time to lay sod. During fall, temperatures may be cooler, but grass growth continues. When installing warm-season grasses like Bermuda, zoysia, or centipede, freeing up time in your calendar for the job in spring may be a better option.
If you’re considering laying sod in summer, make sure you can access plenty of water and avoid installing it when the soil is hot or dry.
How To Prepare Existing Lawn For Sod
You might be looking for information on how to lay sod over existing lawns, but you’ll soon realize it’s not an ideal practice. As convenient as it would be to avoid preparing your soil, it can be the key to your sod’s success.
Fortunately, learning how to prepare the soil for sod and provide the right foundation for it can be simpler than you might have thought.
The first step is to remove your old grass and an inch of the soil underneath it. Rent or borrow a sod cutter that can help you cut into the earth and roll up strips of your old lawn.
Once you’ve got a nice, even soil surface, it’s time to focus on soil health. Your new grass will needs a healthy base in order for it to thrive. Obtain a soil test and gather samples of earth from the areas you’ll be applying new grass.
You’ll receive the results of that test, including your soil’s pH levels, within around two weeks. A healthy lawn has a pH level of between 6 and 7.5, but lime can help correct over-acidic lawns.
Levelling Your Lawn
Once you’ve nourished your soil, you can begin focusing on levelling. A garden rake can be a useful tool for breaking up large chunks while ensuring an even finish of around one-inch below all surrounding paved surfaces.
However, you can also use a rototiller to loosen any compacted soil, unearth rocks, and remove debris. At this point, you may like to add organic matter to the earth to improve soil aeration, keep the dirt loose, and provide the perfect foundation for your sod’s roots to establish.
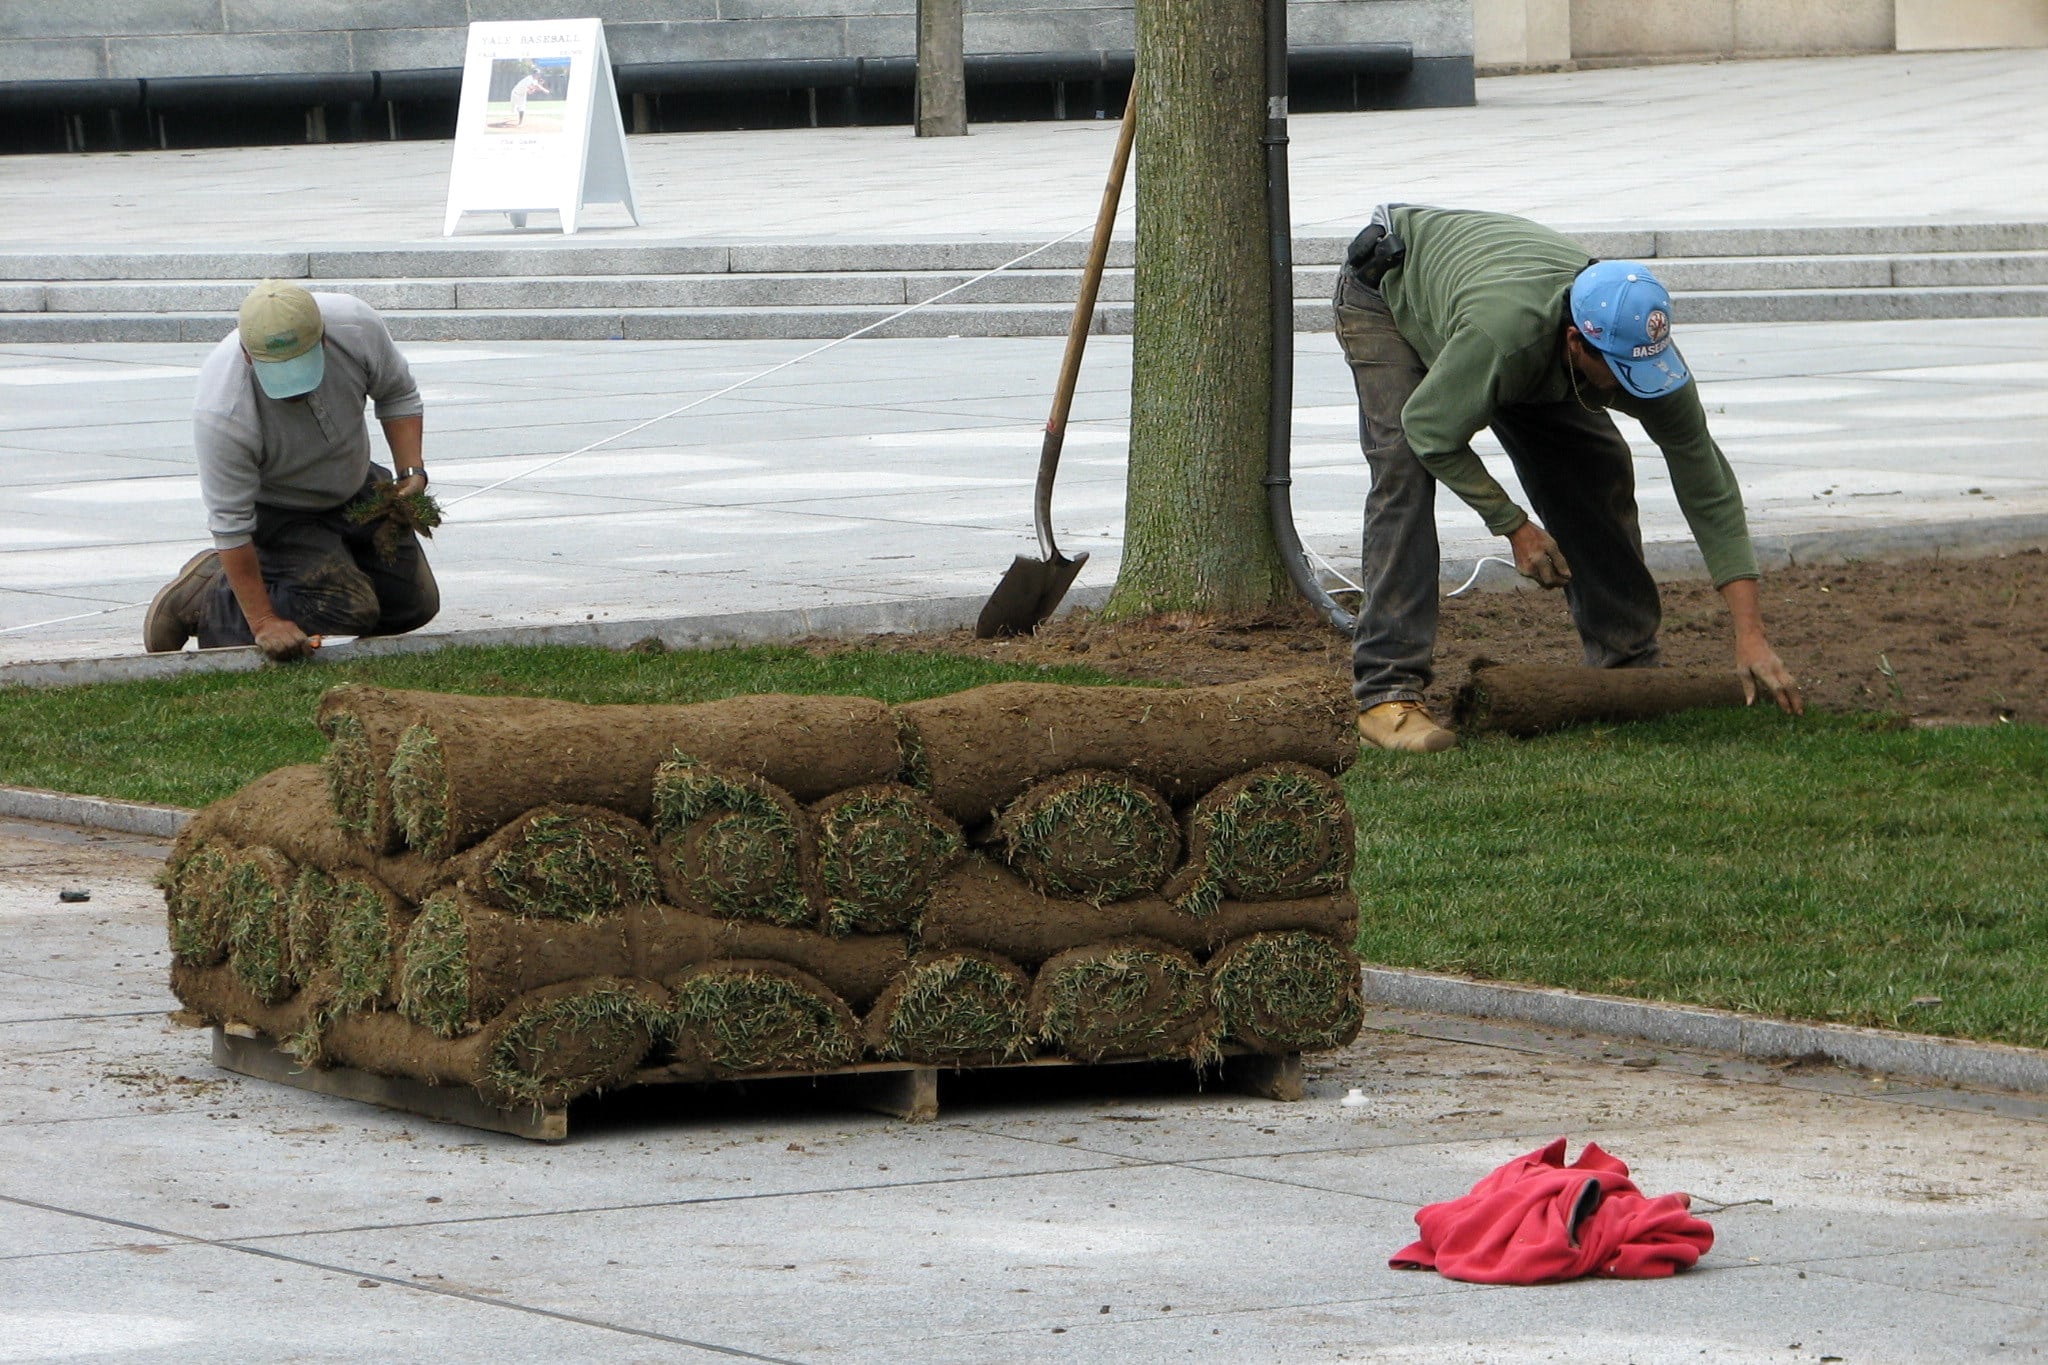
Laying the Rows
Removing the old lawn and prepping the soil is a huge undertaking. Once that’s complete, it’s time to roll! Now all that’s left to do is focus on laying sod and preparing for its aftercare.
It’s essential to start at the outer edge, where your soil meets pathways, driveways, gardens, or curbs. Make sure the first roll is entirely straight before forming a brickwork pattern with each new roll. The ends of each roll of sod should be staggered. You can do this by cutting each piece in half as you move on to the next row.
Fortunately, learning how to cut sod is straightforward. A carpet knife is more than up to the task, but you can also use a hook knife, serrated edge knife, a grape hook, or even a sharpened trowel.
As you form each new row, be sure to position the edges tightly together without creating an overlap. If you come across a curve, use a hose to develop the outline you need while cutting.
Filling the Gaps
Laying rolls of sod instead of growing grass from seed reduces the risk of bare spots and poor growth. However, you will need to combat seams and gaps. After you’ve rolled out your sod, use a rake to fill in the gaps with potting soil or topsoil.
If you have any small pieces of sod to work with, install them in the center of your lawn. You can then ensure they are touching sod on each side. If you were to install the smallest piece along the outer edges, you might find they are at risk of drying out, shrinking, or even dying.
Watering New Sod
Watering your newly-sodded lawn is incredibly important for promoting root growth and future drought tolerance.
Water it daily, unless raining, for the first week after you’ve finished sodding a lawn. After a week, you can start watering every second day. You can water twice weekly by week three, followed up by just one inch of water per week through rain or irrigation from the fourth week onward.
When to Mow New Sod
Mowing your new lawn for the first time is a monumental occasion, but it pays not to be too hasty. You’ll need to wait until your grass is at least three inches tall and at least 10 days after installation.
Sharpen the blades of your walk-behind mower to avoid shredding your lawn, and attach a catcher for grass collection. You can then add the clippings to your compost heap or scatter them around the garden. Refrain from using a ride-on lawnmower for your lawn’s first mow as its immense weight may cause damage.
Fertilizing New Sod
As tempting as it can be to sink your toes into your freshly-installed lawn, it’s important to wait. For the first four weeks of your lawn’s life, allow it to settle in before venturing onto it. At the four-week mark, you can apply a starter fertilizer product, follow the post-application care instructions, and finally reap the rewards of all your hard work.
The grass used to be greener on the other side, but it can now be greener on your side. If you need help with laying new sod or lawn care services like lawn mowing, weed control, spring clean-up, or lawn fertilization, contact the friendly team at Yardly for a no-obligation quote.
Image source: Ragesoss